SOFTWARE MONETIZATION
Software & IoT Monetization
Monetize What Matters and Become a Digital Leader
Revenera Software Monetization
A Great Technology Business Needs Great Processes
Revenera provides the enabling technology to take products to market fast, unlock the value of your IP and accelerate revenue growth – from the edge to the cloud.
Revenera’s Monetization platform is the global standard for electronic software licensing and entitlement management. It helps you implement your digital business model, define packaging options for your software, manage customers and their use rights and deliver software and updates.
Generate more software revenue and save cost and effort through operational excellence:
- Implement and enforce your business models
- Realize the value of data and usage insights
- Manage software, devices and customers
- Deliver and install software based on customer entitlements
HIGHLIGHTS
-
Managing tens of millions of entitlements for more than 10 million users
-
More than 100 million software updates per year
-
2023 IoT Breakthrough “Overall Enterprise IoT Platform of the Year”
-
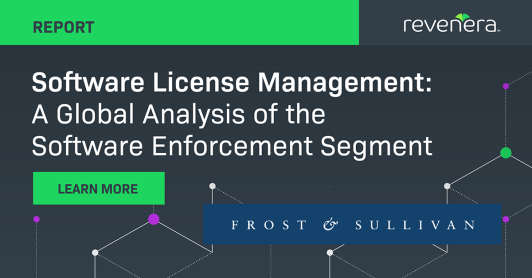
Frost & Sullivan 2022 Global Software License Management Market Leadership Award
MONETIZATION PRODUCTS
Entitlement Management
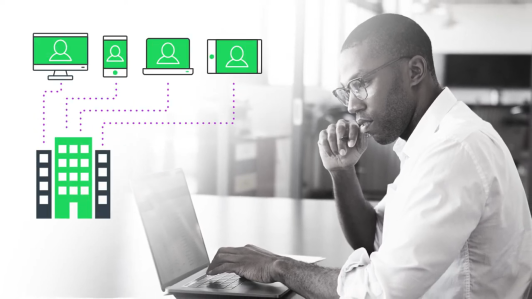
Know what your customers own, and what they are using. Monetize software and devices effectively and manage compliance and customer growth.
Software Licensing
Monetize more effectively. Manage software licensing more easily and protect against overuse. Revenera is a recognized industry leader in electronic software licensing.
Software Delivery and Updates
Manage software updates across the quickly growing number of users and devices. Keep users up to date on new features and security updates.
Usage Intelligence
Understand feature adoption and end user engagement to drive decisions about product development, roadmaps, and packaging and pricing models.
Compliance Intelligence
Detect and identify unpaid software use with compliance analytics that provide forensic evidence to power compliance and revenue generation strategies.
Renewals and Customer Growth
Understand customer account health and trends in usage. Track renewals and share data with customers, leading to a transparent renewal process.
BUSINESS SOLUTIONS
Flexible Monetization Models
In order to monetize effectively you need to understand what’s important to your customers and how they are using your products. And, most importantly, you need to be able to implement flexible models out of the box.
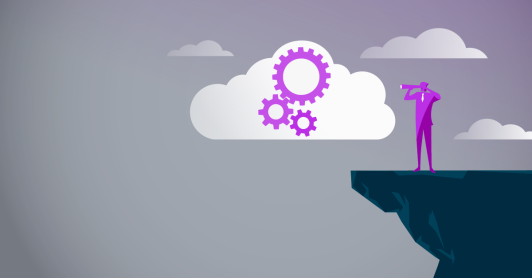
Monetize the IoT – From Edge to Cloud
Everyone’s talking about the revenue potential of the IoT. We can help you drive incremental revenue from the IoT now. It's one reason we've received five IoT Breakthrough Awards.
Monetizing SaaS Applications
Software companies are racing toward SaaS deployments and subscription pricing models faster than ever - driving the growth of SaaS as “the largest market segment” of public cloud services, according to Gartner, which predicts that worldwide public cloud end user spending will be $122.6 billion in 2021 and $145.4 billion by 2022. Pausing to evaluate SaaS monetization strategy is essential for business growth.
Manage & Protect Your Devices
Billions of devices are connected to the IoT. If your business is growing, the number of devices you are shipping to customers is growing exponentially. Manual processes will break. Rely on automation to keep devices up to date and secure.
Build Better Products with Software Usage Analytics
As a product management professional in the competitive software market, you must be able to anticipate ever-expanding customer expectations to build successful products. You also need to deliver products on time and within budget to be competitive.
Turn Software Piracy into Revenue
Pirated software continues to be used at alarming rates. The global commercial value of unlicensed software is an astonishing $46.3 billion*. You have revenue hidden in these billions of dollars.
SERVICES & TRAINING
Implementation Services
After your Monetization Strategy is air tight, we can also help guide you through the implementation phases to ensure your environments are set-up properly and fully optimized to help you take full advantage of your potent Revenera tools suite.
Training
No two licensing implementations are the same. That’s why training is so critical to your success. Our training consultants will instruct your team on the foundations of our technology as it pertains to your specific business and technical needs, ensuring your success as you administer and use your system going forward.
Monetization Advisory Services
Whether you are contemplating new ways to monetize your solutions or exploring new ways to expand your business, Revenera provides solution consultants to help you meet your business objectives.
Revenue Recovery Services
Revenue Recovery Services turn your infringing software users into paying customers. Services range from a turnkey compliance program to highly specialized programs in specific markets, geographies or disciplines. Our team and extensive partner network are highly skilled in license compliance and conversion strategies, well versed in local law and fluent in more than 12 local languages. We can manage your compliance program for you or work hand-in-hand with your internal teams.
Become a digital leader with Revenera.
Learn how Revenera can help you generate incremental revenue and boost your bottom line with software monetization.